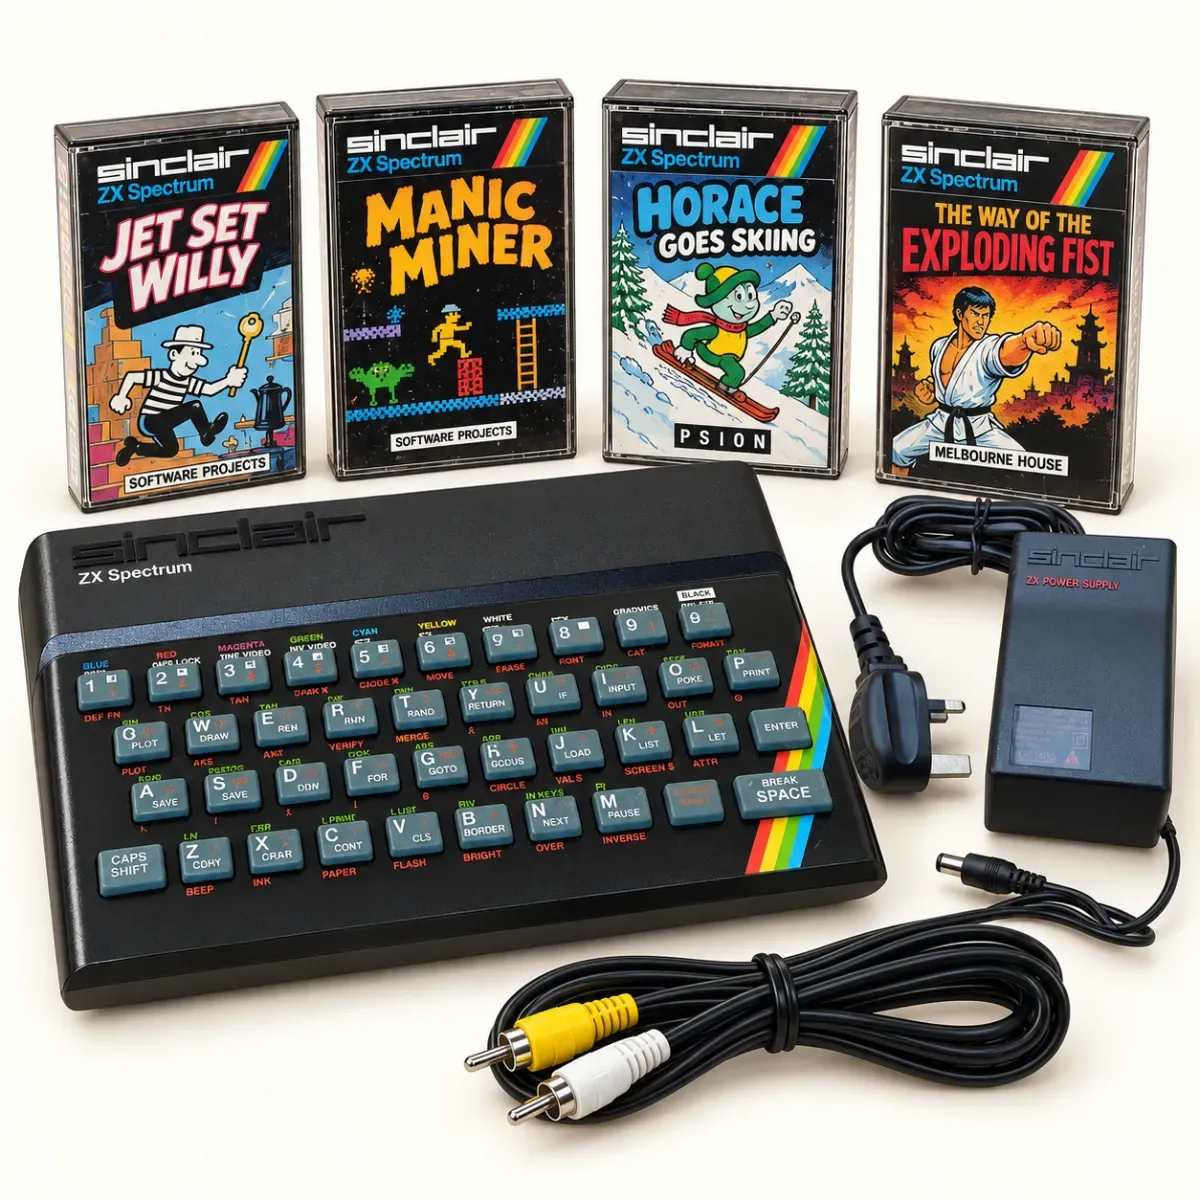
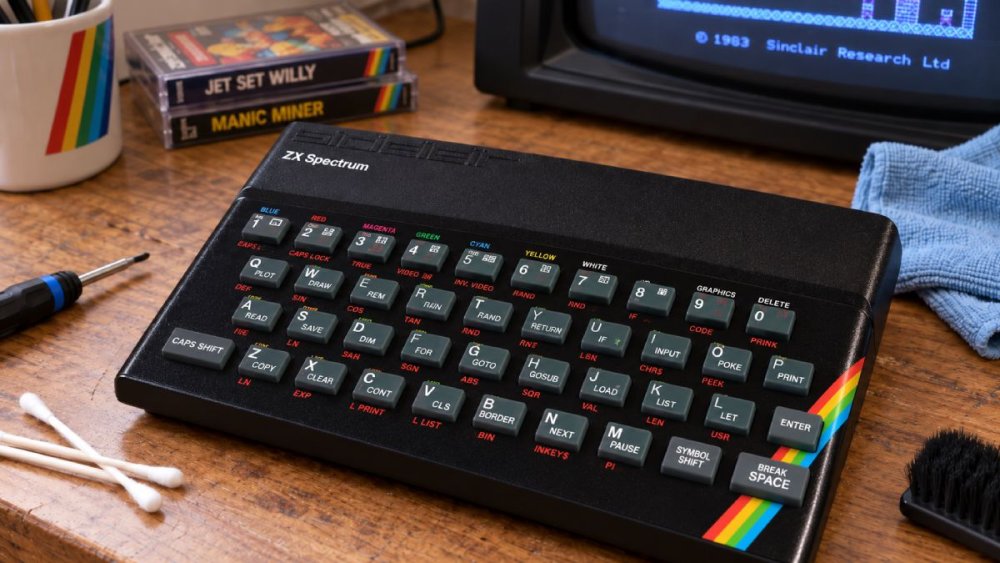
That familiar rubber-key clatter is part of the ZX Spectrum experience, right alongside the whine of a cassette loading game and the sudden panic of a R Tape loading error. But when a favourite key stops responding, it can feel as though a small piece of the 1980s has gone quiet. Knowing how to fix Spectrum keyboard faults usually means working patiently through a few likely causes: surface grime, a displaced membrane tail, or a worn-out keyboard membrane.
The good news is that most Spectrum keyboard problems are repairable without turning your cherished machine into a workbench casualty. The key is to identify the version you own, test the fault properly, and resist the urge to attack it with sprays, solvents or brute force.
Before You Fix a Spectrum Keyboard, Identify the Fault
Start by checking whether the trouble is one key, a cluster of keys, or an entire row or column. At the BASIC prompt, gently test every key, including Caps Shift, Symbol Shift, Enter and Space. On a 48K Spectrum, remember that one key can serve several purposes depending on the mode. A missing letter may not be a failed key at all if the machine is in keyword mode or a shift key is not registering.
If one individual key is intermittent, dirt or a tired conductive pad is the usual suspect. If several keys in a recognisable pattern have died, the membrane is more likely to blame. The Spectrum keyboard works as a matrix: thin conductive tracks link groups of keys, rather than each key having its own wire. When a track cracks or one of the membrane tails loses contact, whole groups can disappear at once.
Before opening anything, try the least dramatic fix. Switch the computer off, disconnect the power supply, and leave it for a few minutes. Then turn it back on and test again. If the keyboard changes behaviour when the case is pressed, moved or warmed, that strongly points to a membrane connection rather than a software issue.
Different Spectrum models need slightly different handling. The original rubber-key 16K and 48K machines are the ones most associated with fragile membrane tails. Spectrum+ models have proper plastic keys but still rely on a membrane beneath them. The later 128K, +2 and +3 machines have their own keyboard arrangements, so do not assume a guide for a rubber-key Spectrum applies bolt for bolt to every Sinclair badge.
How to Fix Spectrum Keyboard Problems Caused by Dirt
A machine that spent decades in a loft, cupboard or spare room may simply need a careful clean. Dust, biscuit crumbs and old household grime can stop keys returning properly, especially around the edge of the case.
Use a soft brush or blower first, then wipe the exterior with a barely damp microfibre cloth. Keep moisture away from the case seams and ports. For stubborn marks on the plastic surround, a small amount of mild soapy water on the cloth is safer than soaking the machine itself.
If you are dealing with a rubber-key 48K Spectrum, do not scrub the key surface aggressively. The printed legends and distinctive rubber finish are part of what makes these little black wedges so beloved, and harsh cleaning can leave them looking far worse than a little honest age. A gentle wipe is enough.
When a single key feels sticky, the fault may be mechanical. With the computer unplugged, press the key repeatedly and compare its travel with the surrounding keys. If it sits unusually low or does not spring back, opening the case may be necessary. Do not drip switch cleaner, WD-40 or contact spray around the key. Those products can migrate onto the membrane and create a much bigger problem than a reluctant A key.
Opening the Case Without Creating a New Problem
Put down a towel or clean cloth before you begin. It protects the Spectrum's case from scratches and stops small screws rolling into the sort of dimension where lost screws live forever. Take photographs as you go, particularly before disconnecting anything.
Remove the case screws carefully and lift the upper case slowly. On many Spectrums, the keyboard is connected to the main board by delicate flat membrane tails. Do not pull the lid away as though opening a biscuit tin. Raise it a little, look inside, and support the upper half while you assess the connectors.
The membrane tails are the usual weak point on original machines. They are thin strips that slide into connectors on the board, and decades of heat and flexing can make their conductive tracks crack near the ends. If the tails are visibly creased, split, brittle or discoloured, cleaning alone is unlikely to restore the keyboard.
If they look sound, carefully release them from their connectors. Depending on the board, there may be a retaining bar or simply a friction-fit socket. Make a note of which tail goes where. Use a dry, clean lint-free cloth to remove loose dust from the connector area, then refit the tails squarely and fully. A tail that is slightly crooked can produce wonderfully baffling results, such as a dead row, random characters or a machine that appears to have developed a mind of its own.
Avoid rubbing the conductive ends with an abrasive eraser or scraping them with a knife. The conductive coating is thin, and an enthusiastic clean can remove the very surface you are trying to save. If oxidation is suspected, a tiny amount of isopropyl alcohol on a lint-free swab can be used sparingly on the connector contacts, allowing everything to dry completely before reassembly.
When the Spectrum Membrane Has Failed
A failed membrane is one of the classic ZX Spectrum ailments, up there with tired power supplies and cassette decks that suddenly dislike the tape you loaded perfectly in 1985. It is not a sign that you have done anything wrong. These components were never expected to keep serving us forty years later.
Replacement membranes are available for several Spectrum models, but buy one made specifically for your machine. A rubber-key 48K membrane is not interchangeable with every Spectrum+ or 128K design. Check the connector style, number of tails and model compatibility before ordering.
Fitting a replacement is usually straightforward, but it rewards calm hands. The membrane sits beneath the keyboard assembly, and its tails must be routed without sharp folds or tension. Work in good light, follow the existing layout, and avoid forcing the case closed afterwards. If it will not close naturally, stop and check that a tail has not been trapped.
A new membrane can transform a machine that has been sitting silent for years. Suddenly, keys respond crisply again, and typing LOAD "" has the satisfying certainty it ought to have. For many owners, that moment is less about practical computing than it is about hearing a favourite old joke told in exactly the right voice.
Reassemble and Test Slowly
Before replacing every screw, reconnect the keyboard and test it with the case resting loosely in place. Power the Spectrum using a known-good, suitable power supply and check each key methodically. Test letters, numbers, both shift keys, Enter, Space and the keys that give you CAPS, GRAPH and SYMBOL functions.
If the fault has gone, switch off, disconnect the power, then finish reassembly. Do not overtighten the screws. The original plastic is old, and cracked screw posts are an avoidable bit of retro heartbreak.
If the problem remains after reseating or replacing the membrane, inspect the board-side connectors for damage and look for signs of corrosion or previous amateur repairs. At that point, a specialist repairer may be the sensible route, particularly for rare models or machines with sentimental value. There is no shame in letting an experienced pair of hands deal with damaged tracks or board-level faults.
A Few Things Not to Do
The urge to make a dead Spectrum work immediately is powerful, especially when the machine has just appeared from the attic with a shoebox of tapes. Still, a few shortcuts can do lasting damage:
Do not use household cleaning sprays, oil-based lubricants or large amounts of liquid near the keyboard.
Do not bend membrane tails repeatedly to see whether they will suddenly revive.
Do not test with an unknown old power supply if you have doubts about its condition.
Do not force the case shut over a misrouted membrane tail.
A keyboard fault can feel like the end of the machine, but it rarely is. These were modest home computers built around clever compromises, from the compact black case to the famously ambitious rubber keyboard. Treat the repair as part of the ritual: a little patience, a clear table, perhaps a cassette soundtrack in the background, and one more small victory for the tech we grew up with.