
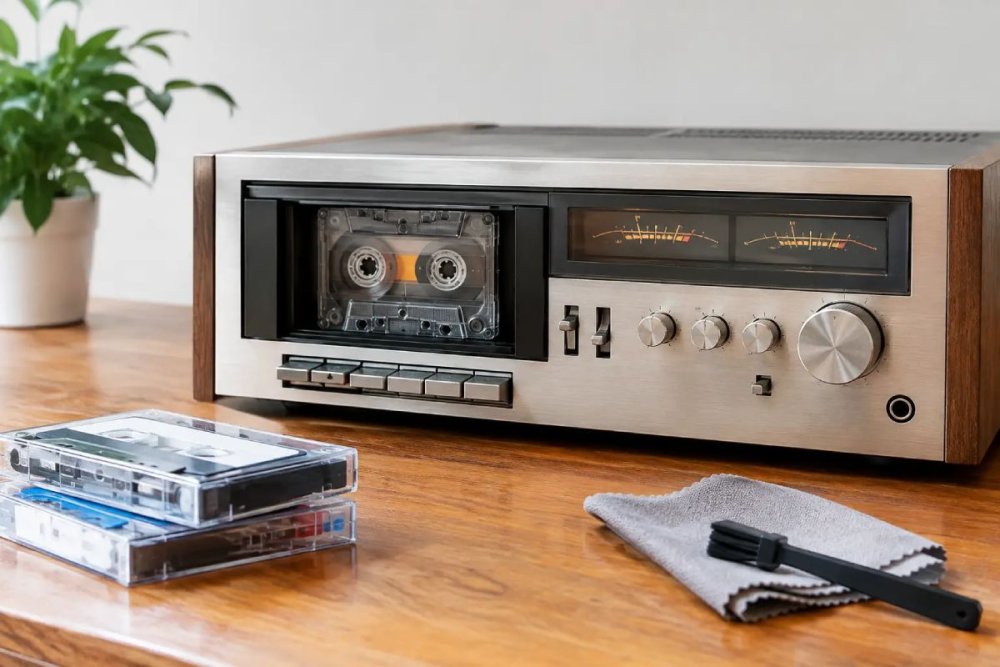
A cassette deck could make an ordinary Sunday afternoon feel like a proper occasion. You selected a tape, pressed it into the bay, heard the reassuring clunk of the mechanism and watched those little VU meters twitch into life. Clean vintage cassette decks bring that ritual back, but “clean” can mean anything from a dusted-off car-boot find to a genuinely cared-for machine that is ready to make a mixtape tonight.
For those of us who grew up recording the chart show, copying borrowed albums, or waiting for a favourite track before the DJ talked over the ending, condition matters as much as the badge on the front. A gleaming Sony, Technics or Aiwa deck looks marvellous beside beige computers and stacks of old games, but it should also treat your tapes kindly.
What “clean” really means on a cassette deck
A clean deck is not necessarily a fully restored deck. That distinction saves disappointment and, occasionally, a treasured copy of Now That’s What I Call Music from being chewed up by tired rubber parts.
At the basic level, clean means the casing is free from thick grime, nicotine staining, sticky residue and obvious corrosion. The buttons should not feel as though they have spent 30 years in a shed, and the cassette door should open and close squarely. A spotless fascia is pleasant, certainly, but the important work happens behind it.
Look through the cassette well if you can. The tape heads, capstan and pinch roller should be present and reasonably tidy. Heads are the little metal surfaces that read the tape. The capstan is the polished spinning spindle, while the pinch roller is the rubber wheel that presses tape against it. Together, they keep your cassette moving at the right speed. If those parts are filthy, perished or misaligned, the deck may play badly even if its brushed aluminium front panel shines like it did in the Comet catalogue.
“Clean” also ought to mean honest. A seller who says a deck has been wiped down but does not claim it has been serviced is being more useful than one calling it “mint” after polishing the lid. Vintage audio is full of machines that look fresh and need only a belt, and machines that look fresh because nobody has dared put a tape in them.
The first checks worth making
Before falling for fluorescent display lights and chunky piano keys, check whether the deck has been tested in playback, fast-forward and rewind. All three functions matter. A machine that plays for ten seconds may still struggle to wind a C90 to the end, especially if its belts have stretched into slack little loops.
Listen for speed stability. Music that gently wobbles in pitch, particularly on sustained keyboard notes or vocals, can point to worn belts, a dirty capstan or a harder mechanical problem. This is often called wow and flutter, although most of us knew it as “why does this sound like the batteries are going flat?”
Try both channels too. If the left side is faint, intermittent or completely absent, the issue might be as simple as a dirty record/playback switch, but it can also require proper diagnosis. Turn the volume controls and balance knobs slowly. Crackle is common on older gear and is not always serious, yet a clean-looking deck with every control spluttering is not quite the effortless return to 1987 it first appears to be.
Cosmetic condition tells a story
A few light marks are often preferable to a suspiciously perfect finish. Honest shelf wear suggests a deck has lived in somebody’s hi-fi stack, rather than being aggressively cleaned or stored somewhere damp. Check the printed lettering around Dolby, tape selector and recording controls. Worn labels do not make a deck useless, but they show where it received the most attention.
Be especially cautious around battery compartments on portable units and remote-control handsets. Leaking batteries leave white or green corrosion that can spread. On full-size separates, inspect the rear panel for bent sockets, rusted screws and a mains lead that has been badly repaired. The back is rarely glamorous, but it often reveals more than the front.
Give the mechanism the care it deserves
If you bring home a deck that works but looks neglected, begin gently. Unplug it from the mains and use a soft brush or microfibre cloth to remove loose dust from vents, controls and the cassette bay. A barely damp cloth is enough for the exterior. Avoid spraying cleaner directly onto the deck, where it can run behind buttons and into switches.
For the heads and capstan, use a cotton bud lightly moistened with high-purity isopropyl alcohol. Turn the capstan by hand as you clean it, rather than forcing any motorised function. Brown residue on the bud is normal: it is oxide shed from decades of tapes, including those well-loved home recordings that were played to within an inch of their lives.
Treat the pinch roller with more caution. Alcohol can dry some rubber compounds, particularly on older machines. A dedicated rubber cleaner is the safer choice, used sparingly. Never scrape at the roller with a screwdriver, blade or anything similarly enthusiastic. If it is cracked, shiny, sticky or hardened, cleaning will not restore it. Replacement is the sensible route.
Head demagnetisers have their place, but they are not a magic wand and can cause trouble if used carelessly. Most casual listeners will get better results from clean tape-path parts and a mechanically healthy deck. Save the more specialist adjustments, including azimuth alignment, for someone with the correct tools and a willingness to set it up properly.
Belts, idlers and the faults hiding inside
The least glamorous component is often the reason a favourite deck has stopped behaving. Rubber belts age, stretch, melt or turn into a black tar-like mess. Idler tyres, used in many transport mechanisms to transfer drive for winding, can become smooth and useless. These failures are routine rather than terminal, but repair can involve careful dismantling and parts that vary from model to model.
That is why a tested, clean deck usually deserves a higher price than an untested one with its original box. An untested machine may be a lovely project, especially if you enjoy taking apart the sort of cassette mechanism that once made the family stereo feel wonderfully complicated. It is not the same thing as a ready-to-use purchase.
Auto-reverse decks deserve an extra pause. Their moving head assemblies and additional gears can be brilliant when healthy, letting an album continue while you got on with homework or a game of Manic Miner. They also have more to go wrong. A straightforward single-well deck can be easier to maintain, while a three-head machine may offer superior recording and monitoring but asks more of its owner.
Choose the deck for the ritual you want
There is no universal best cassette deck. If you want to play old family tapes and shop-bought albums, a well-maintained two-head deck from a respected 1980s maker is often ideal. If recording is the point, seek manual recording-level controls, working meters and support for the tape formulations you intend to use.
Type I ferric tapes were everywhere, from school discos to glove compartments. Type II chrome and high-bias tapes offered a step up for people making serious compilations, while Type IV metal tapes were the fancy stuff, the sort you might reserve for an album that deserved more than a bootlegged copy. A deck should recognise or allow you to select the tape type correctly. It will not transform a battered cassette into audiophile treasure, but it helps the recording sound as intended.
Dolby noise reduction is another useful feature, though it works best when playback matches the system used during recording. A tape made with Dolby B can sound overly bright if played without it. That is not always a fault with the deck. It is part of the wonderfully fiddly, deeply personal logic of cassette life.
Keep your tapes safe while testing
Do not make your irreplaceable mixtape the first cassette to enter an unfamiliar deck. Use a sacrificial tape first, preferably one you would not mourn if the transport proves hungry. Let it play, fast-forward and rewind. Watch that it winds evenly and stops at the end rather than continuing to strain.
If you hear crunching, see tape slack gathering in the well, or find the cassette emerging with tape spilling from its shell, stop immediately. Do not keep pressing play in the hope it will sort itself out. A deck that eats tape needs attention before it earns access to the precious recordings.
Clean vintage cassette decks are not just display pieces from a time when every gadget had buttons, lights and a satisfying mechanical answer for every command. They are a way back into making choices: which tape, which side, which track, and whether to leave two seconds of silence before the next song. Find one that has been cared for, clean it with patience and let the first proper clunk of the cassette door do the rest.